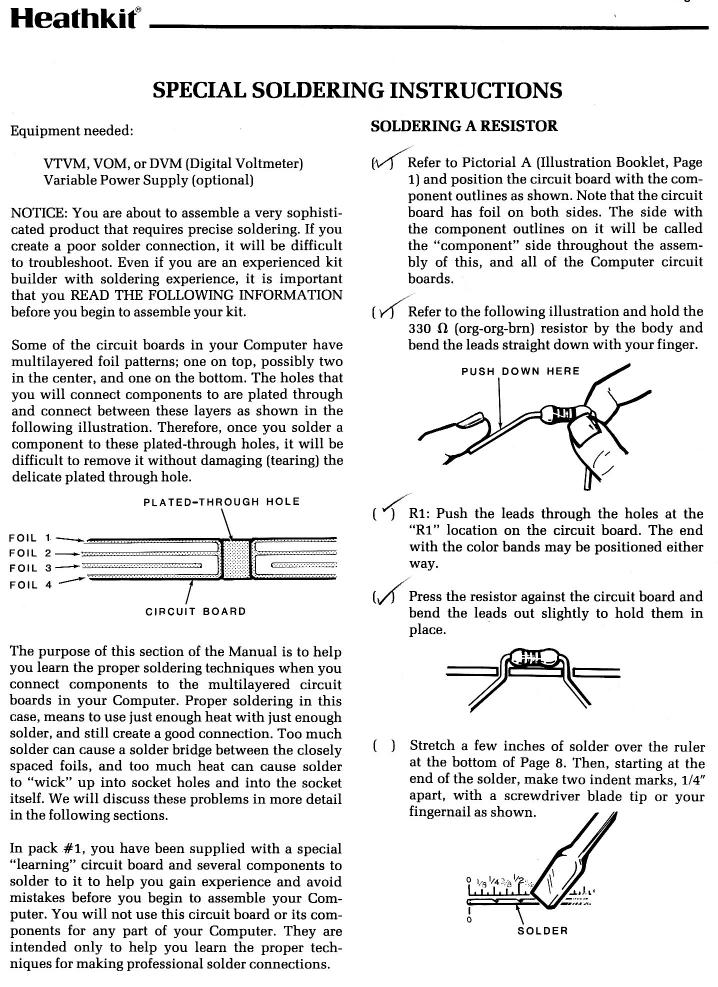
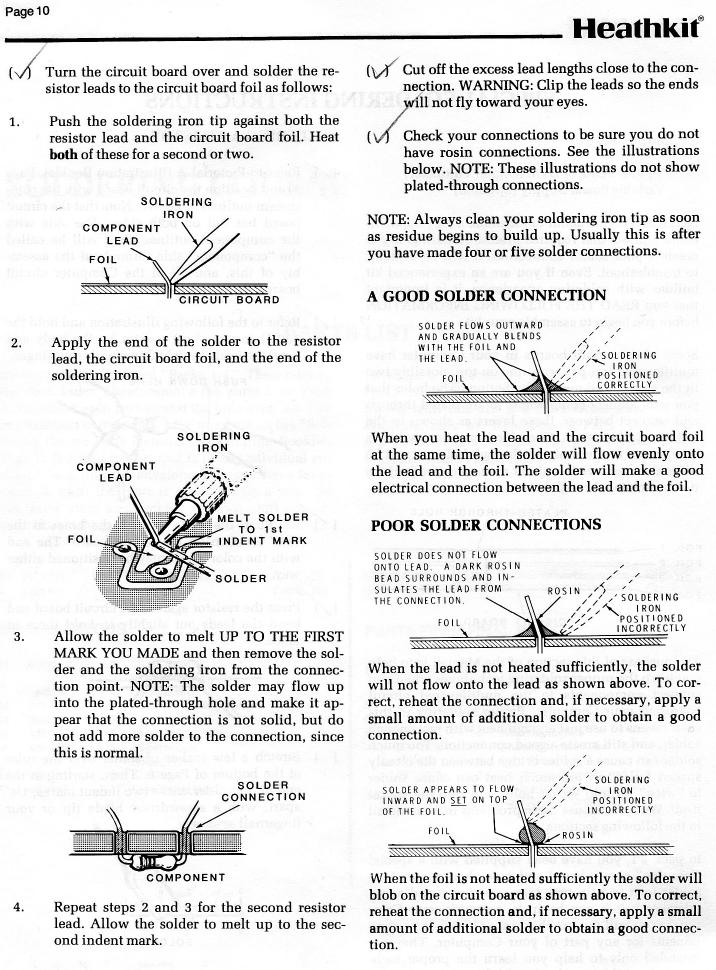
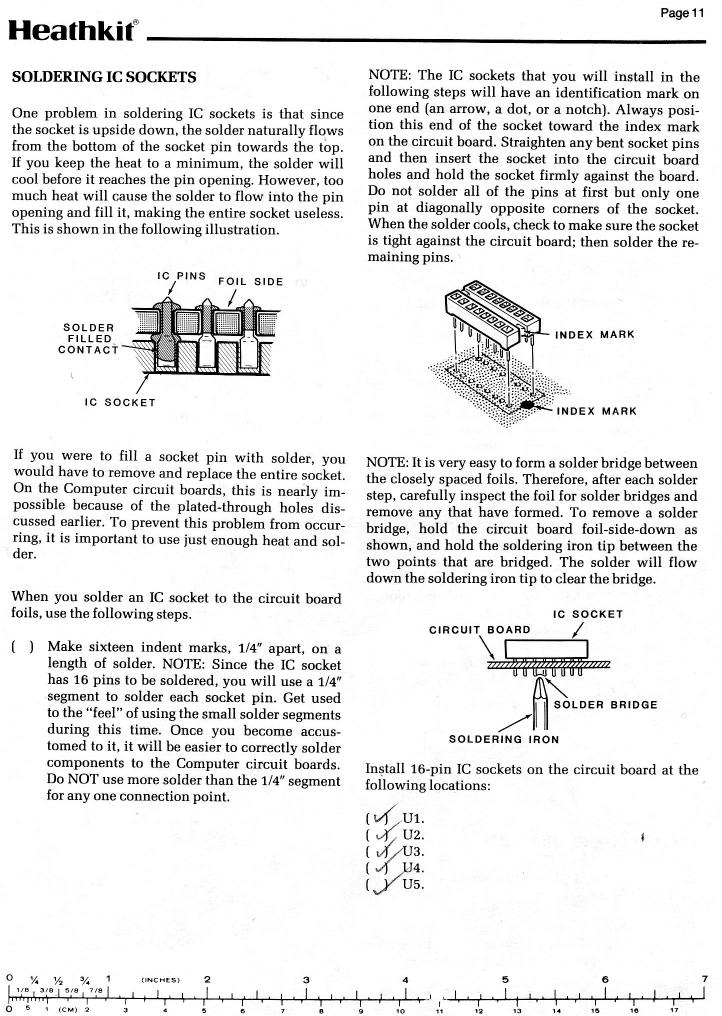
 Below are the first three pages of the Heathkit soldering course from the assembly manual. The end of the third page instructs the user to solder five 16-pin integrated circuit sockets onto the practice board. The remaining pages, not included here, go on to guide the user through soldering three test pins and an LED (Light Emitting Diode). Once assembled, the practice board is inspected for short circuits with an ohmmeter, and powered up and checked for proper operation (all it did was light the LED). It seems clear that the writers of the course were most concerned with users using too much solder, which is particularly problematic when soldering IC sockets (Integrated Circuit sockets). They also needed to teach the user how to heat the soldered connection adequately. The soldering course begins on page 9 of the manual.  Note: the ruler on the bottom of page 8, mentioned above, is the same as the ruler that can be seen on the bottom of page 11, the last manual page shown on this web page.

   |