 When I use the word "backup" these days, I'm most apt to be talking about safequarding the files on my computer. But not this time. We have various reasons for having brought natural gas to our house, a major one being our desire to have backup electrical power in the event of an outage. Our finished basement being protected by a French drain, we want our sump pump to continue running under all conditions. Although it's rarely used at all, when the water table does come up above the basement floor, it can stay that high for several days, beyond the capacity of the sump pump's battery backup (should we simultaneously have no electrical power). The loss of heat during outages is rather unpleasant, and outages seem to be occurring a bit more frequently than they used to, possibly related to the increased storms brought on by global climate change. Our last lengthy power outage was during Hurricane Sandy, a little less than a year ago, during which we lost electrical power for about five days. However, despite getting quite a bit of rain, we had no problem with flooding, and the sump pump wasn't needed. Still, an automatic backup generator seems prudent. If one wants to install a generator, the question arises as to what fuel it should use. Since it will only be used from time to time, the fuel can sit unused for quite a while. Gasoline is not good in that regard - it goes stale (tends to lose some of its volatile components). It's also hard to store enough gasoline or diesel fuel to keep a generator going for very long. Propane can be stored for a long time, but even 200 pounds of propane, two rather large tanks, might only last a few days. The solution is natural gas, which arrives via high-pressure underground pipes, and is almost never interrupted.
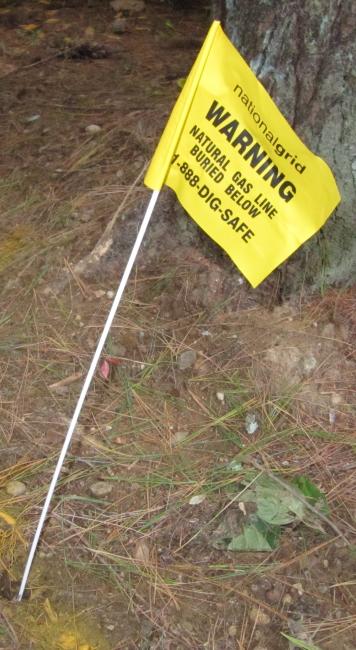
Step one, the day before the scheduled excavation, was the arrival of a man from Dig Safe®, to verify the position of the buried high-pressure gas line bringing our gas in from the street. He used the tracer wire mentioned in my earlier entry Gas. By energizing it, he was able to mark the position of that buried line, using paint, and flags like the one to the left. This seemed a bit unnecessary, since we could still see the top of the trench in which that line had been buried, and its passage under the driveway was still marked in yellow paint. That is, its position was rather obvious. However, I think it's a legal requirement for an excavator to contact Dig Safe before excavating, so that's what was done. You may recall that the gas company had installed the high-pressure line under our driveway using a device they called a "gopher". But three connections were needed to the generator, a gas line, and two electrical conduits, one for the high-voltage, and one for the low-voltage control cables. Of these, the two electrical conduits are not flexible, and so can't be easily tunneled under the driveway.
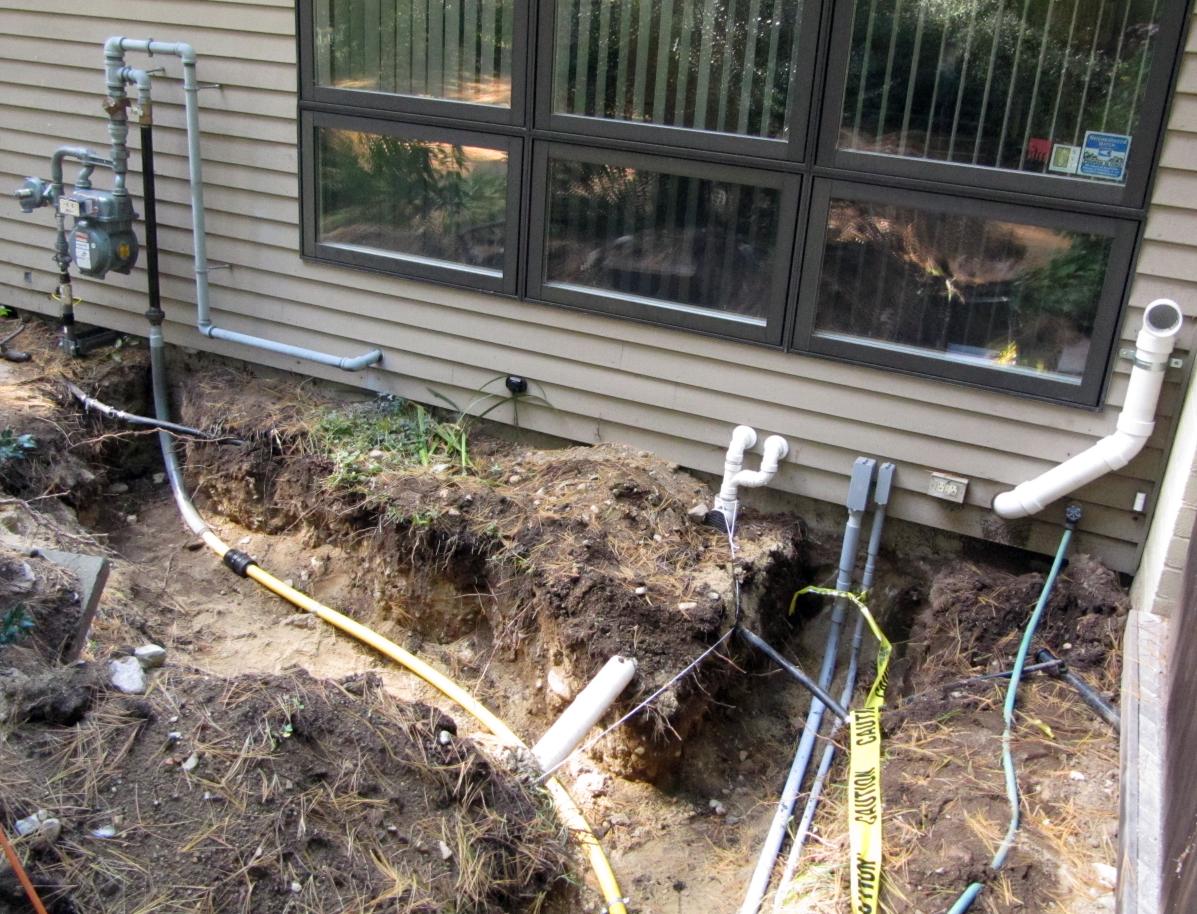
Once the cut was done, he lifted out the pavement, as shown below. The asphalt proved to be about 5 cm. thick, with a good 20 cm. of gravel underneath - the excavator commented on what a good job had been done on it. Indeed, it's still in very good shape after well over 20 years, with only a few bulges and slight cracks due to underground tree roots. The excavator's large machine just fit between a large pine tree (50 cm. diameter trunk, about 20 inches) and a very large burning bush (Euonymus alata). He was then able to dig the trench along the same path without damaging either. He mentioned that the burning bush (so called because it turns bright red in the Fall) is now classified as an invasive species, and can't be purchased any more. We have them all over the place. Although it's deciduous, it's quite dense, and will somewhat block our view of the generator from the house even in the winter, until we can add additional plantings. 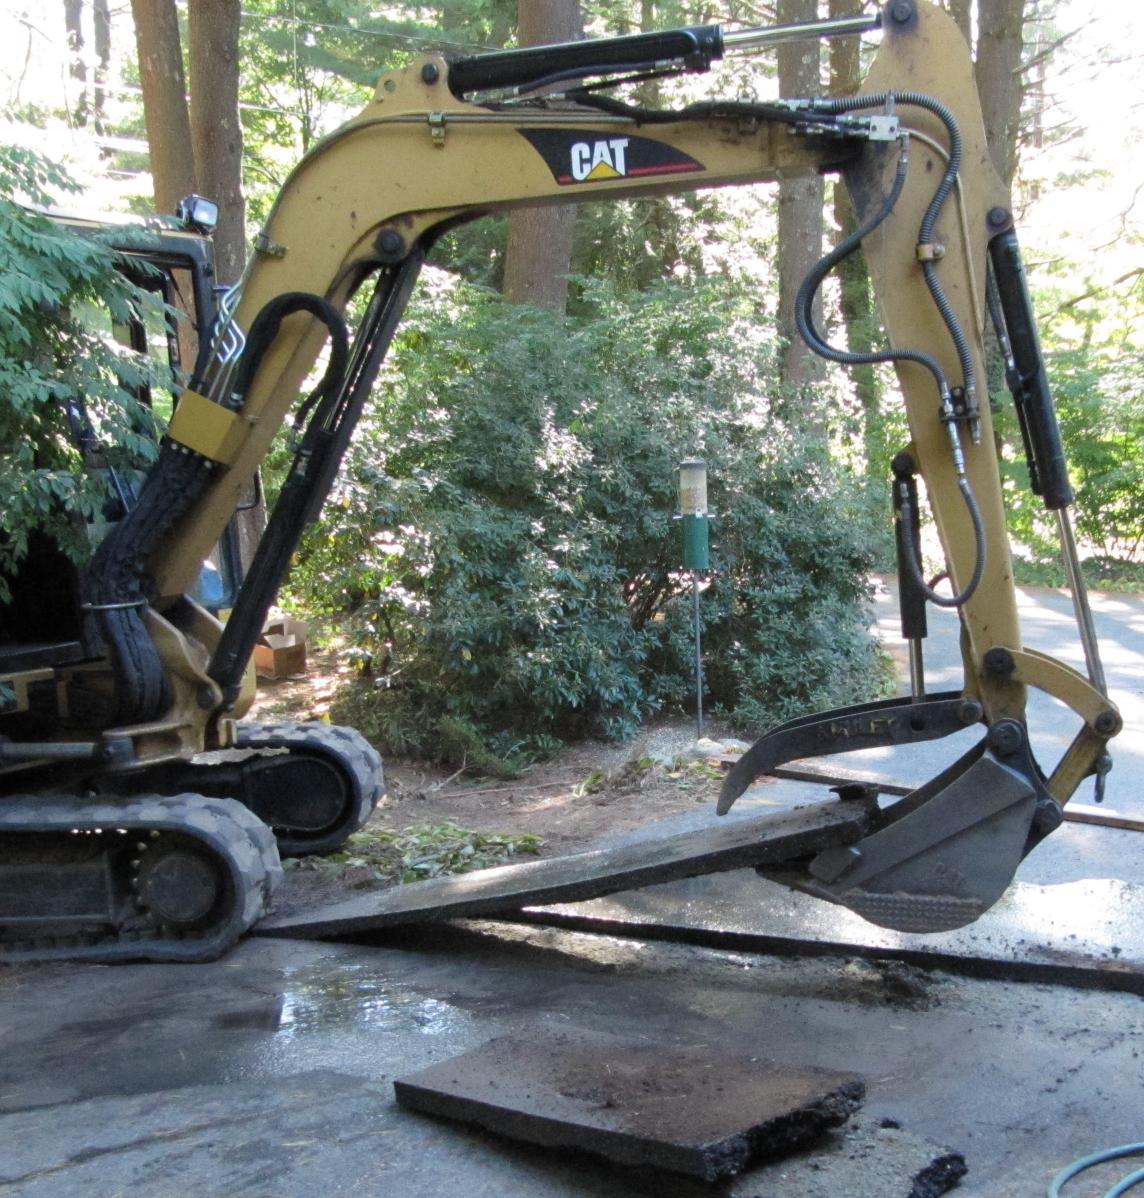 Here's a picture of the house end of the trench: What is all that stuff? Left to right, it starts with the pipes associated with the incoming gas line, with the final connection added going off to the generator (the descending black pipe feeding the to-be-buried yellow pipe). Note 1 The small black rectangle on the wall of the house under the windows is a transducer through which the water meter can be electronically read. The double white pipes are outlets from the two sumps of the French drain, feeding the white pipe that runs forward across the trench. Both of these were previously there. Next, the two gray conduits carrying electrical wires to the generator, newly added. The four items to the right: an electrical outlet, the air intake for the new boiler, an outdoor water faucet (green hose attached), and a small thermometer that reports the outdoor temperature to the boiler. The black tubing that crosses the trenches in two places belongs to our irrigation system.
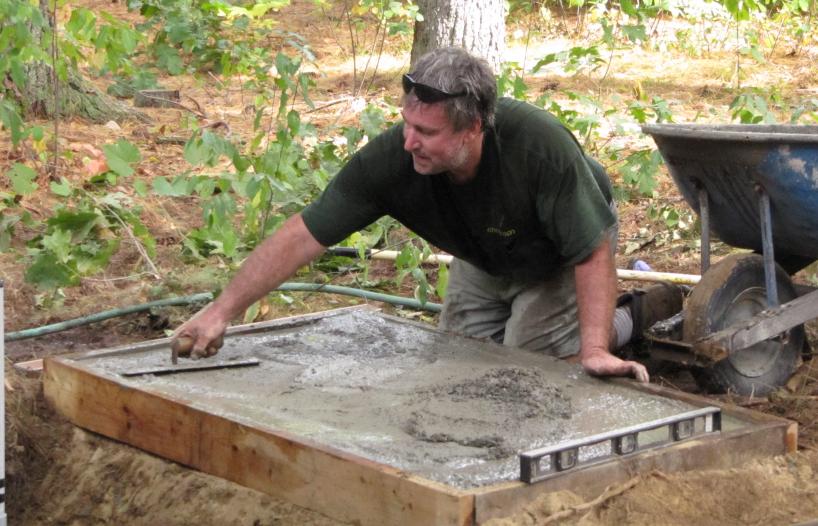
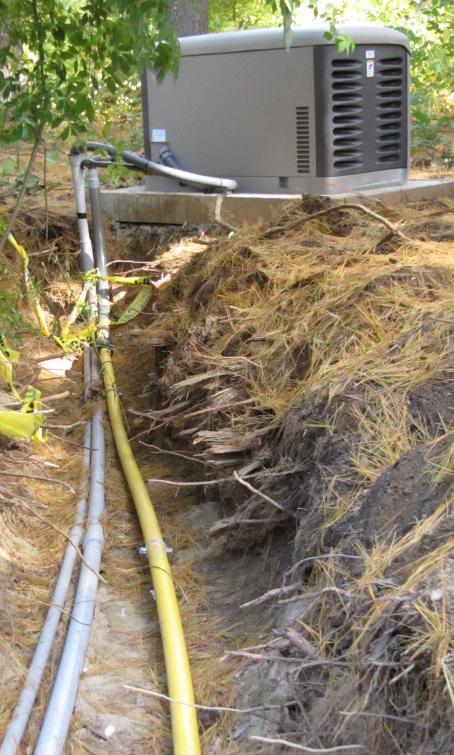
After removing the cardboard box (shown towards the bottom of my previous entry Demo day), the generator was carried into position by four men. This was not an easy task, as it weighs 227 kg (500 lbs), and had to be moved over somewhat rough terrain. Below: The generator end of the trench, showing the generator sitting on its concrete pad: As an engineer, I found this whole process rather interesting, with quite a few details I wouldn't have thought of. For example, the segments of the electrical conduit were glued together empty, and only later were the wires snaked through it. I asked why the wires couldn't be snaked through the shorter straight segments before gluing. It turns out this is against code, because if any glue gets into the conduit, it could compromise the insulation on any wires already inside. There are two electrical conduits to separate the high-voltage (220V) wires from the lower-voltage control wires. The trench had to be at least three feet from the high-pressure incoming gas line. The yellow gas pipe is flexible, but still somewhat stiff. That's why there's a short separate section of trench running diagonally over to the gas pipe assembly, as shown two photos above. The gas pipe couldn't run along the foundation to join the electrical conduit, because it is too stiff to make a sharp right-angle bend. I noticed that the high-voltage wires in the outdoor conduit are quite a bit thinner than the high-voltage wires running inside the house to the "transfer switch". This is because the inside wires are aluminum, for reduced cost. But the outside wires are made of copper, to make them thinner, to fit inside the conduit. Copper is a better conductor than aluminum. The final photo below shows an overview of the installation after the trench was backfilled, and the cut in the driveway patched. Note 2 Note that the generator is already mostly hidden from view from the house by the large burning bush, which remains quite dense even after it loses its leaves in the Fall. The bush is just beginning to show signs of turning red - it will be entirely bright red within a week or two. But there's also ample room around the generator to plant additional screening plants around it - shade-loving evergreens such as rhododendron or mountain laurel, perhaps. 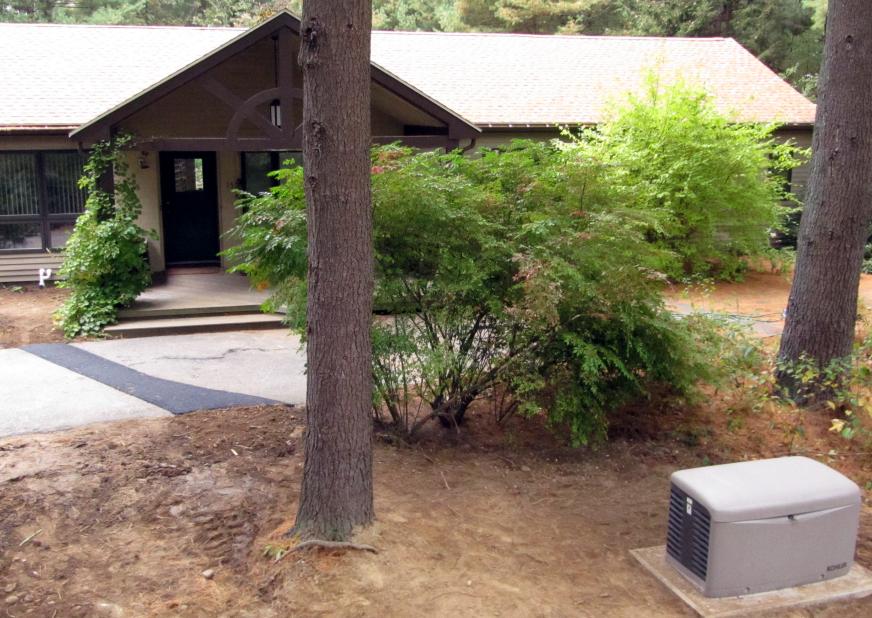 The generator installation is actually not yet complete. An additional cable was snaked through the conduit today (a "cat 5" cable to allow the generator to report its status to my computer). In addition, a carburetor heater was installed, and we're still awaiting the starting battery. After that, we'll be able to finally test it. A neighbor walking his dog thanked me for preventing power failures on the lane. He figures that now that I've spent a lot of money on a generator, there won't be any power failures for at least a few years. Added note: In fact it took less than six months for the generator to be used in an actual Power failure - click that link for an entry describing it. Subsequent power failures are described in yet another entry, called Power failure (bis).   Note 1: The pipes are all painted with a corrosion-resistant gray paint, but only after the installation has been approved by the inspector. Once the gray paint fully dries, we can paint over it in any color we want (to match the house siding, for instance). [return to text] Note 2:
It really is an overview - I set up and climbed a ladder to take the photo. [return to text]
 |
